I Love My Cup of Coffee, do you?: October 2010

With Love it's All Possible

Friday, October 22, 2010

Reviews on desserts plating

These are some photos taken. Singapore really have good foods you know (=

Picture courtesy of Ms Silma Sulaiman
Beautiful piece of Chocolate Cake. Ok, maybe apart from the candle, the cake is of a good portion size, probably in terms of colour apart from the red strawberries, they should use a different plate as the shades of brown from the chocolate fudge, the cake itself and the plate is a bit overwhelming.
Probably if they use plain white plate, it will be better. (=


The picture on the right is better. We can see the red strawberry better and against the white plate, even the blueberries are obvious. The chocolate fudge  used sparingly on the strawberry. Nice colour combination.

Monday, October 18, 2010

Photography in Home Economics- Doughnuts

This week we had an interesting class whereby we have a look at 9 different plates of doughnuts. All were plated in different ways. Through we were able to see the different plating techniques that is highly to be adopted by the Home Economics students.

NOTE!!!: NO GARNISH IS BETTER THAN WRONG GARNISH

Here are all the 9 plated doughnuts

As teachers we are strongly advised to practice "POSITIVE MARKING". I totally agree with Ms Chin on this. We are never out there to make our students' lives difficult but to help them and hopefully may they fall in love with Home Economics.

Thus far for teachers and students here are some samples for review:

This a classic example of using the wrong garnish. No matter how "fusionised", we must know this from the start that tis is not appropriate, but remember don't be harsh on students, tell them they have a nice colour combination for this, and maybe they we may want to look for fruits instead to replace the tomatoes (=


Both the ones ABOVE and RIGHT are some of the good ones. However comment on the right, as oxidation takes place with cut apples. advice students this is one factor that we have to take note of.

Saturday, October 16, 2010

Microteaching 2: Meat

Ms Ain evaluating on our chapchokas
Through this 2nd microteaching more feedbacks were gained.
This time round:
- Come early and PREPARE, PREPARE, PREPARE
Ms Pricilla preparing for her class

- Organization of students' work area (points deducted if teacher do not get students organized)
- Minimal noise (Great control by Ms. Jit.... learning point there)
- Give credit to students who make best use of school's resources for garnishing.
- Ensure accurate order in terms of quantity. (NO WASTAGE)
- Lesser theory, more action
- Shorter Demo (less than 2 minutes)
- Change skills, do not teach what has been taught (Oh! Oh! there goes my sambal goreng idea)
- Remind students that no one should be idling
- "Bite" your nails before class
- Never say "A lump of meat"
- Learn the skill of TROUBLESHOOTING
- Most importantly, More scoldings means more love (=

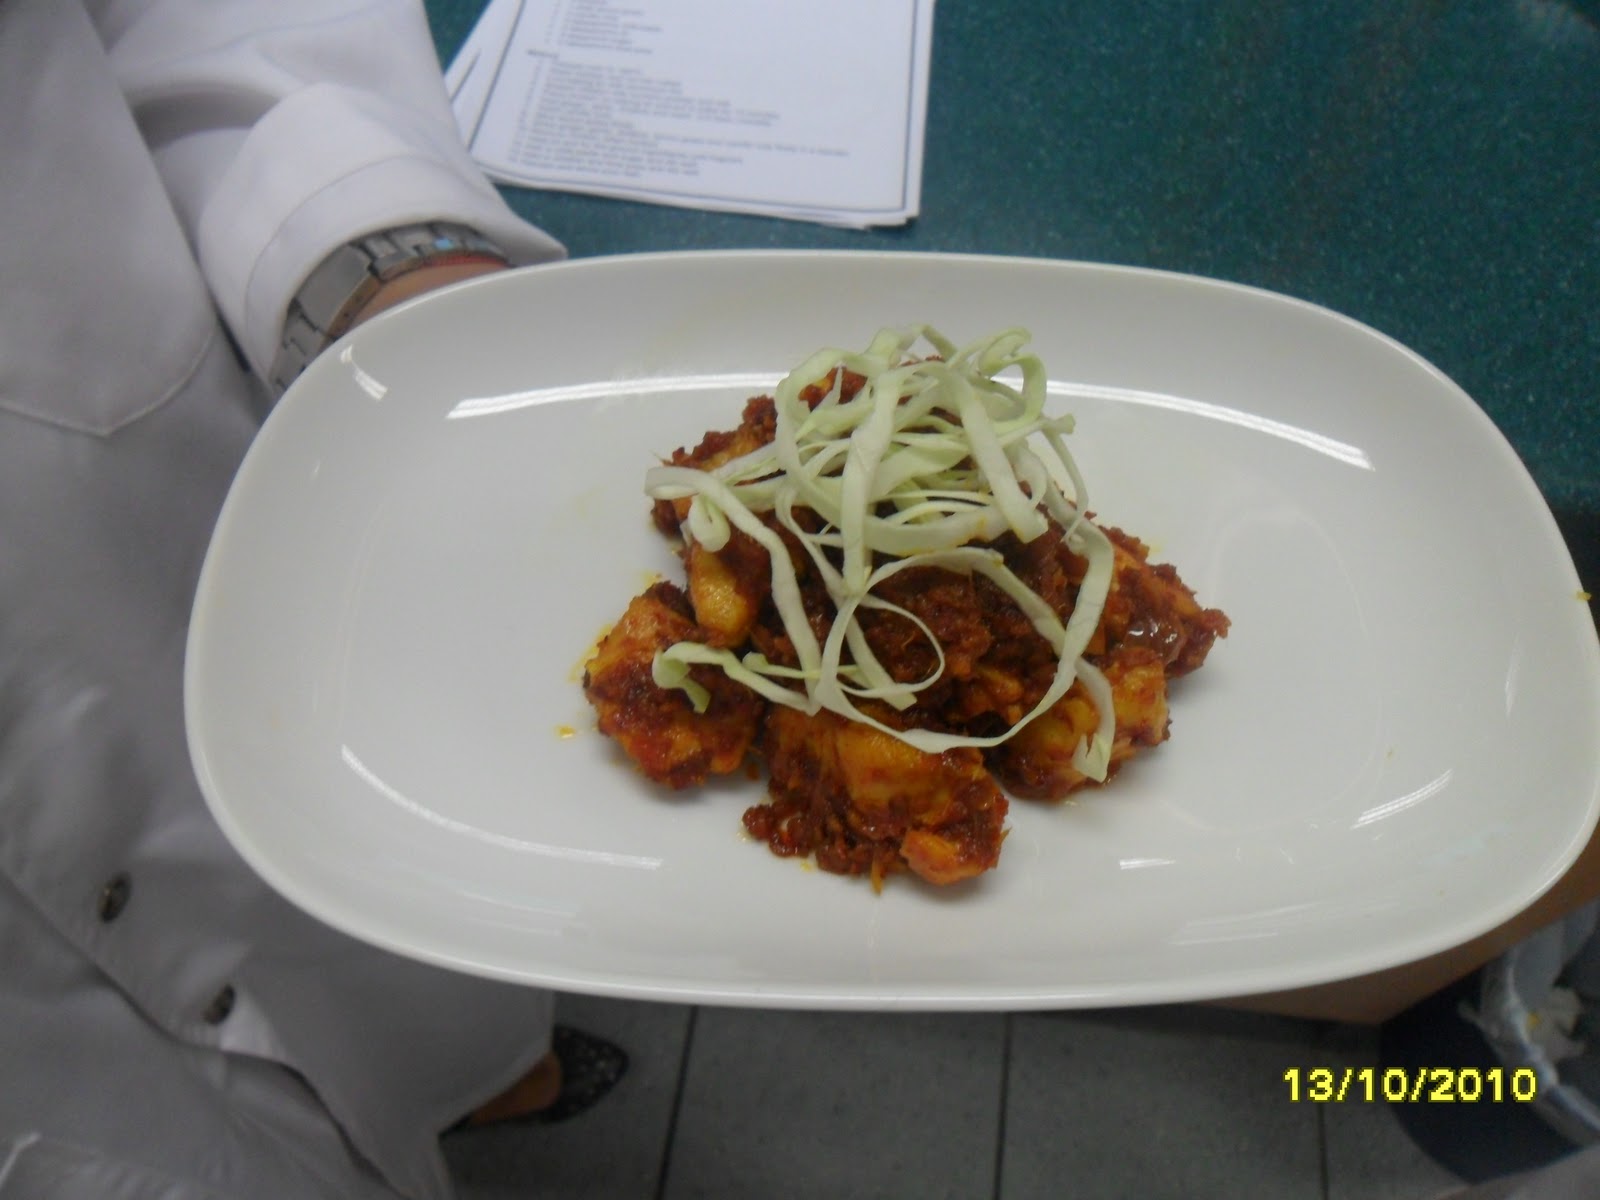
X- Poor garnishing as it covers the main food
GOOD- Simple and Sweet (=
I am beginning to love my chose path. No doubt things never get any easier. We have to always seek out for great challenges in life..... Never give up, especially on yourself.... Never breakdown.... Break it out instead....Do it with love, and you will see all the need to make the best of it..... More importantly.... Chillax, life is short... Enjoice.........
Cooking my Chapchoka
Ms Jit, full of glee " Thank God, it's over......"
THE FINAL PRODUCTS...BEAUTIFUL!

Microteaching 1- Rice and alternatives

This was our first microteaching. I guess for the first time the whole class was feeling with excitement and stress. Nevertheless my highest salute goes to the first team of Hidayah, Farah, Jay, Sooben, Geemah and Meizhu for being bold enough come forward and execute a show that none of us have a first hand experience of be it doing or observing it.


Sadly I was so stress myself, that I didn't get a chance to "Snap! Snap!".


Oh by the way, we cook Tuna Quiche (my first time eating it, I am falling in love with it already), Cous Cous a great unique dish from South Africa, and Chicken pasta (for the first time I cook the sauce from scratch)


I am really looking forward for more microteachings, " Learning by Doing" is indeed something that I will never deny... At least now I can confidently tell people, I can scoop up a a pasta dish anytime any moment.... Just bring me to the market (=


Thanks ladies and gentleman for your sharings......


LEARNING POINTS:
I guess we were all in dilemma whether to behave like known professionals or secondary school kids... ultimately I figure we just be ourself but wait for instructions... as for the teachers... I think it was better to see us as their students... it can be pampering to be treated as secondary school students once awhile (=

Saturday, October 2, 2010

Lesson 2: Project Drawstring Bag


The basic to all fabric before sewing
 This week after the submission of our first part to the Competencies Profile, we start off with our first project on a drawstring bag.

It is very helpful, in teaching that we show the students of the anticipated final product. This way we will always "Have an End in Mind".

We started off by learning a new term to a new product: Warding  (Not cotton pad/ "white, white thing", whatsoever)

In this project we are working on two piece of fabric and a warding in between.

The warding's function here is to conceal one fabric from the other (as the colours can be translucent due to its thinness), thus if you have 2 thick fabrics, when put together , the colours translucent to one another, you may go without the warding.


               Measuring from 45 degree to do the diagonal lines using the 'Magic Ink'

First step of Project Drawstring:

- We draw diagonal lines (beginning at 45 degree), on Fabric A (colourful fabric).

- Tip: It is better to use Invisible Pen than to chalk, however the cons is that if we don't sew immediately, the ink disappears and sadly you have to re-draw. I felt the ink can last about 4 days at least before it slowly fade away.

- Then we proceed with "BASTING", a temporary approach to piece 2 fabrics together via hand-sew without backstitch before we machine-sew them, to prevent disalignment.


- Once nicely attached and held, we will machine-sew the diagonal lines.
!!!Tip: Start from the middle


- Once that is done, we will be drawing line to Fabric B (Blue one for me) to attached both pieces together. 


Till next lesson.......